Introduction:
In this blog I will be explaining about creating a chatbot
and integrating with your VBCS application.
Main
Article:
Chatbots are the coolest things that everyone would love to
have in their application. Let’s start by building a basic chatbot which suggests
you a place to visit in India based on your food preferences.
STEP1:
·
Go to the skills section of your digital assistant.
·
click on the Add Intent and rename it to ‘suggestPlaces’
and then go to utterances section of and provide your input.
·
Basically, utterances are the initial conversations
that would be started by the humans in a chatbot.

once you are done with providing your utterances. click on
the train with ML at the top of the page and wait till it gets completed.
STEP2:
·
Go to the entity section and create an entity (type:
valuelist), basically this decides the entity/category to which the user input
belongs to.
·
Create an entity with name food.
·
In the value list give the values as spicy and
normal.
·
And in the prompt section provide the test “enter
the kind of food you want to have? “

Now go ahead and create another entity with name foodType of type Composite Bag, basically this holds all
other entities under one roof.


Click on train once again and wait till it gets completed.
STEP3:
·
click on the flows and select main flow
·
Under this click add for the intent events (this
is basically to trigger the process to be followed when the intent is
recognized)
·
As we are creating to suggest a place give intent.reg.
place as the name
Now inside the flow add the resolve composite bag action

Go to the component section and click on create …in this
case I’d given the name as food then assign a bag item for the same.

Once done use set variable action and create a variable (basically
this holds the option selected by the user spicy/normal)
Assign the value as below

Now we are entering the final step to suggest the place to
the user based on the food type.
To achieve this, create a switch action and assign the previously
created variable to it.
In the transitions section provide the details as below:
Give action name as normal and In the transition to section
add state and provide the details as below:

Similarly spicy for Hyderabad.
Now the assignments should look like below:

Now click on the Kerala component and provide the text as “Kerala
would be great place to visit for you” similarly for Hyderabad as “Hyderabad
would be great place to visit for you”.
Your end flow should look like below:

Click on train once again observe that everything should be
green or else click on train till it’s done.
Now click on the preview action and test the application:

That’s it you had successfully built your first chat bot:
P.S.: If you come across an error saying at least two
intents are required please create another dummy intent and leave it unassigned
to any entity.
Now to integrate the above application to the VBCS please follow the below steps:
STEP:1
Download the below shown file from https://www.oracle.com/downloads/cloud/amce-downloads.html

Step:2
Extract the downloaded .zip file

Step:3
Compress the native-client-sdk-js to .zip

Step:4
Go to the VBCS application u
had created.
Right click on the import resources
folder and import the above zip

Step:5
Go to the HTML section at
application level
And paste the below code:
<script src="resources/native-client-sdk-js/web-sdk.js"></script>
<script>
var chatWidgetSettings =
{
URI: ‘<your chatbot URI>’,
channelId: ‘<your chatbot channelID>’
};
setTimeout(() => {
window.Bots = new WebSDK(chatWidgetSettings);
Bots.connect().then(() => {
console.log("Successful");
}, (reason) => {
console.log("failure");
console.log(reason);
});
}, 2000);
</script>
Refer to this link for creation of channel ID : https://docs.oracle.com/en/cloud/saas/enterprise-performance-management-common/cgsda/dig_asst_config_channel_overview.html
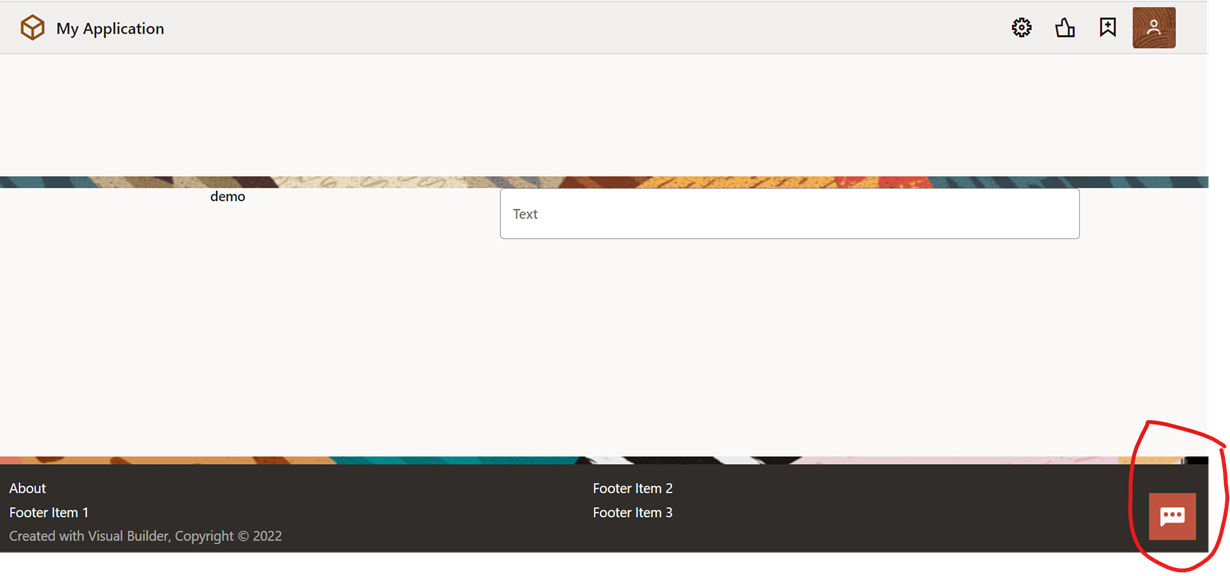
That’s it you can find your chatbot/Digital Assistant on your application page.

Comments
Post a Comment